Step 1: Data capture
To be updated
Step 2: Processing in PIPP
Introduction
The Planetary Imaging PreProcessor (PIPP) is a free Windows application designed to streamline the pre-processing of astrophotography images and videos, particularly for lunar, solar, and planetary subjects. In moon photography, PIPP is instrumental in preparing your data for stacking and enhancing, ensuring that subsequent processing steps yield optimal results.AstroshopAstroshop+2Cloudy Nights+2AstroExploring+2
Key Functions of PIPP in Moon Photography
- Object Detection and Centering: PIPP automatically detects the Moon in each frame and centers it. This is especially beneficial if your tracking wasn’t perfect during capture, as it ensures consistency across frames. DPReview
- Cropping and Resizing: By cropping out unnecessary areas (like black space), PIPP reduces file sizes and focuses on the region of interest, making subsequent processing faster and more efficient. Astroshop
- Quality Filtering: PIPP can assess the quality of each frame and retain only the best ones, discarding those affected by issues like motion blur or atmospheric disturbances. This ensures that only high-quality data proceeds to the stacking stage. Astroshop
- Format Conversion: It supports various input formats, including DSLR RAW files, and can convert them into formats like TIFF, which are more suitable for stacking software. AstroExploring
- Brightness and Gamma Adjustments: PIPP allows for adjustments in brightness and gamma levels, which can be useful if your images are underexposed or have inconsistent lighting. Astroshop
Processing
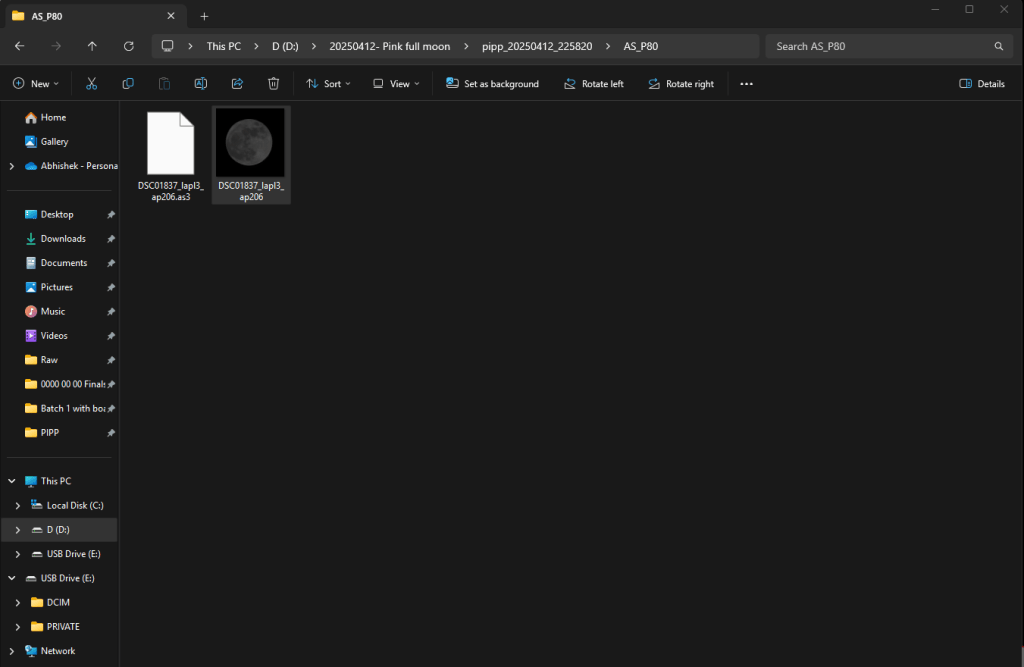
Copy all files to your local machine, better to have in a single folder
Install and open PIPP application.
Add all images and make the selection as shown below

No changes needed in the Input option tab
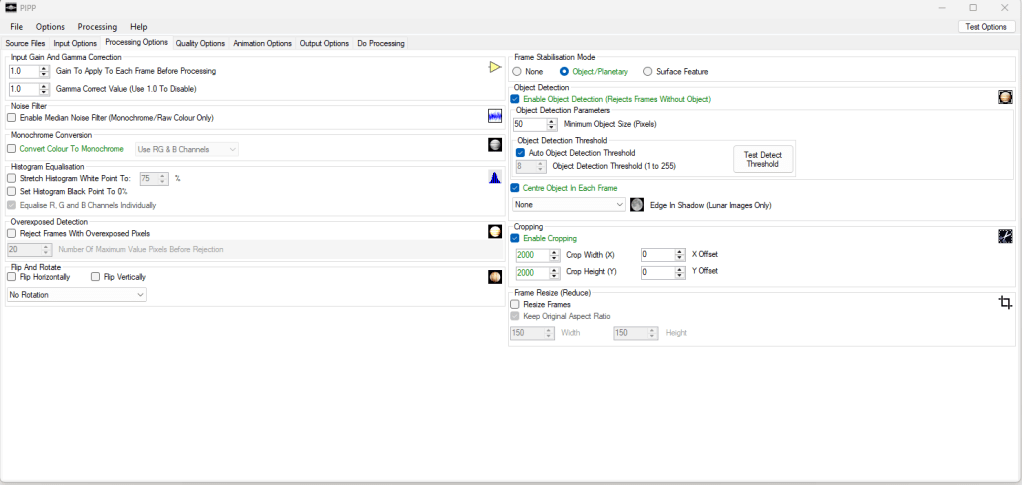
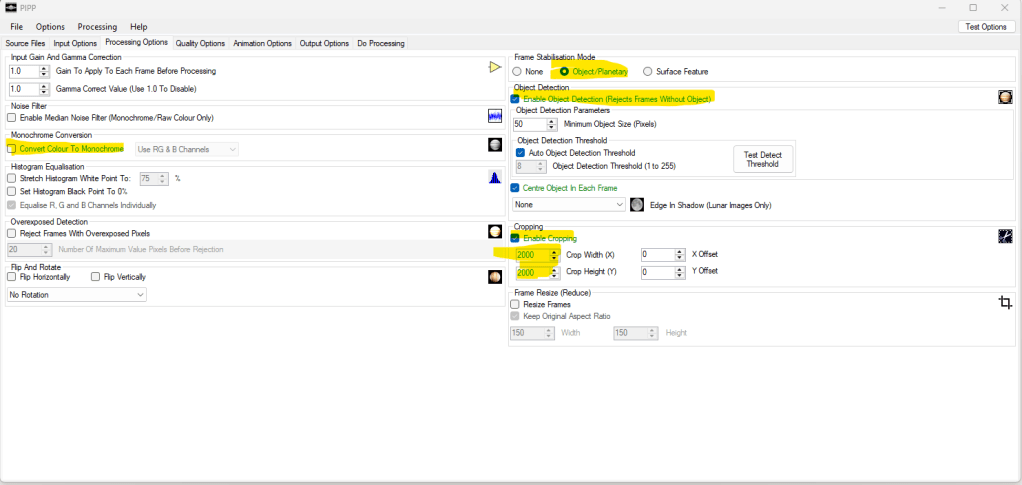
In the processing option,
Leave quality option as-is
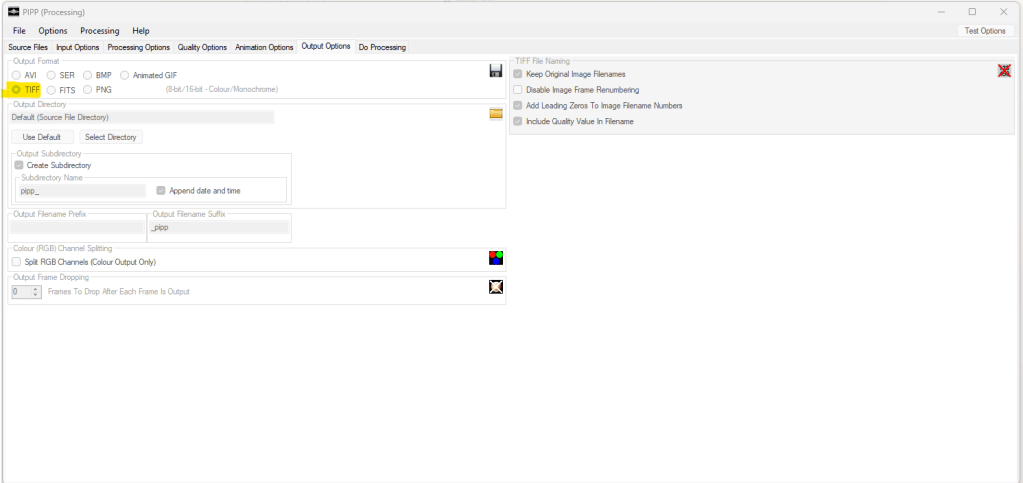
In the output option
In the do processing tab, click “Start processing”
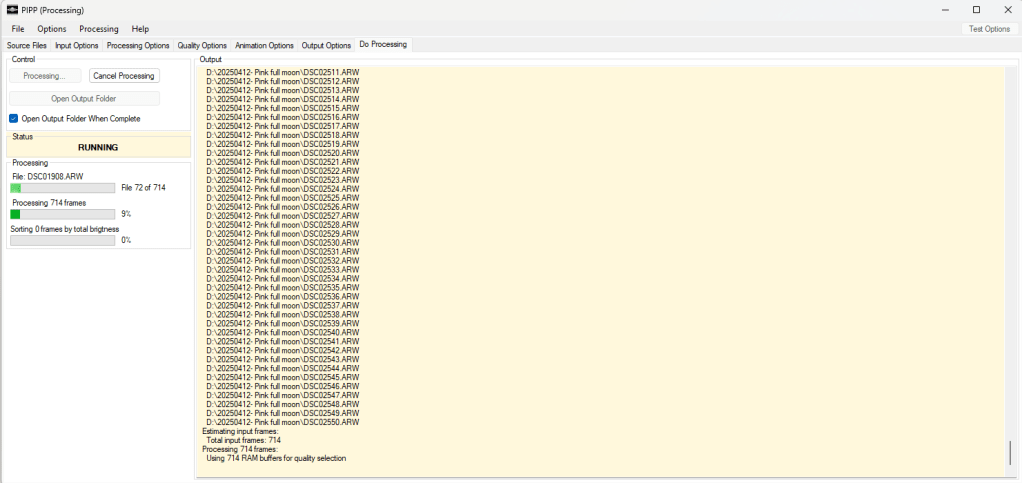
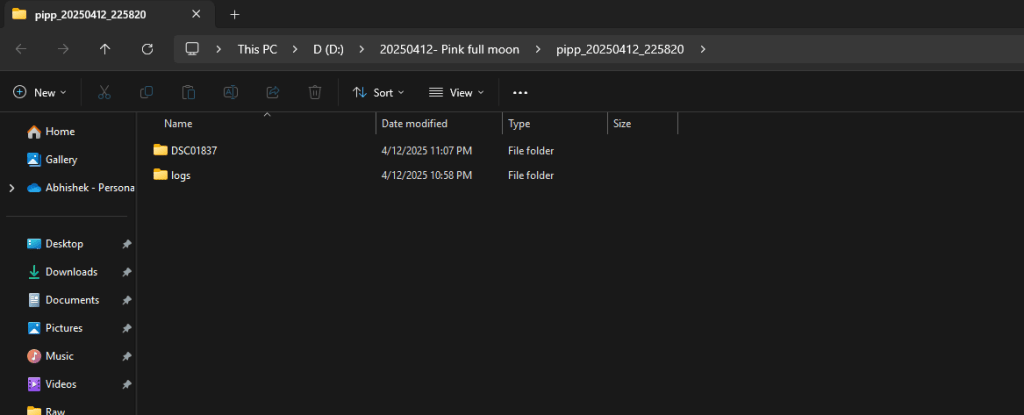
You should all new images in the folder provided in the output option. If you didn’t make any changes, you should see a folder with the input folder provided.
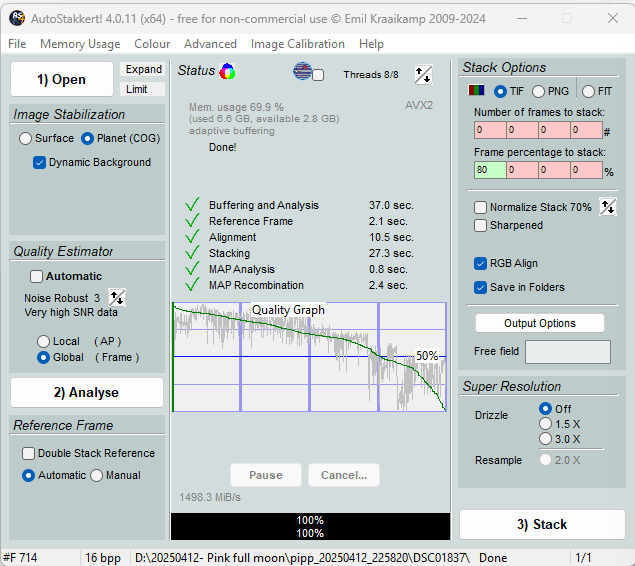
Step 3 – Processing in AutoStakkert
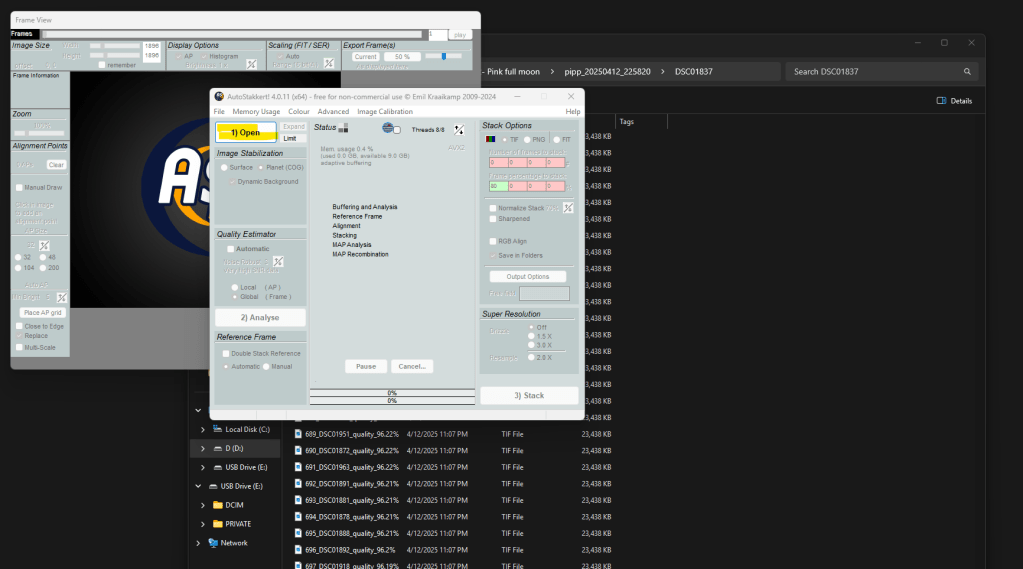
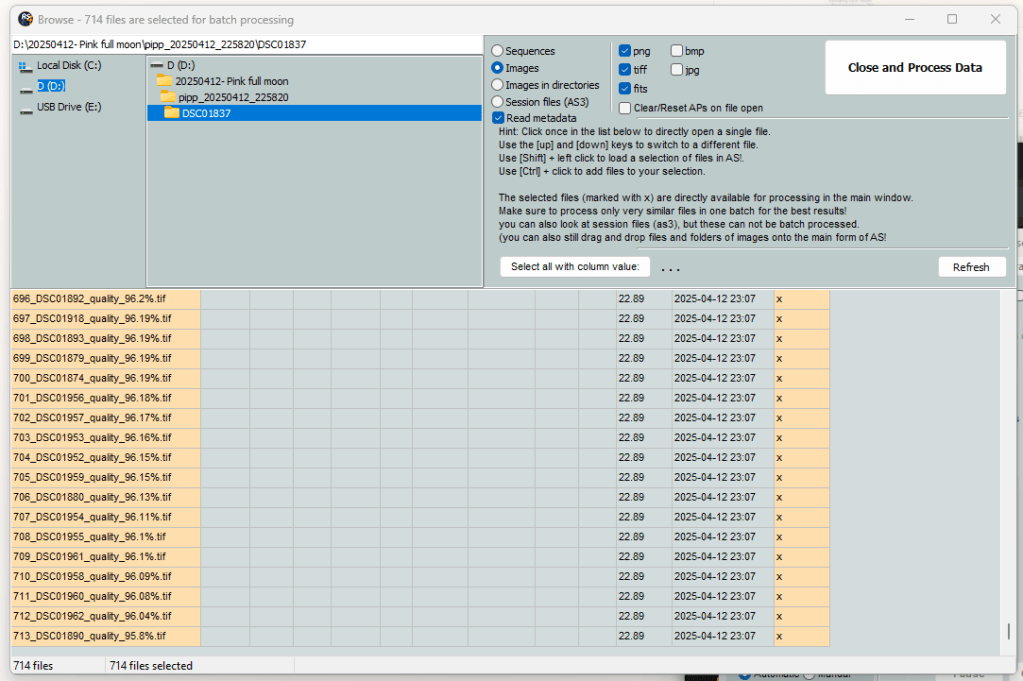
Open AutoStekkert and click on Open button . Select all images from PIPP folder
Select all images from the popup
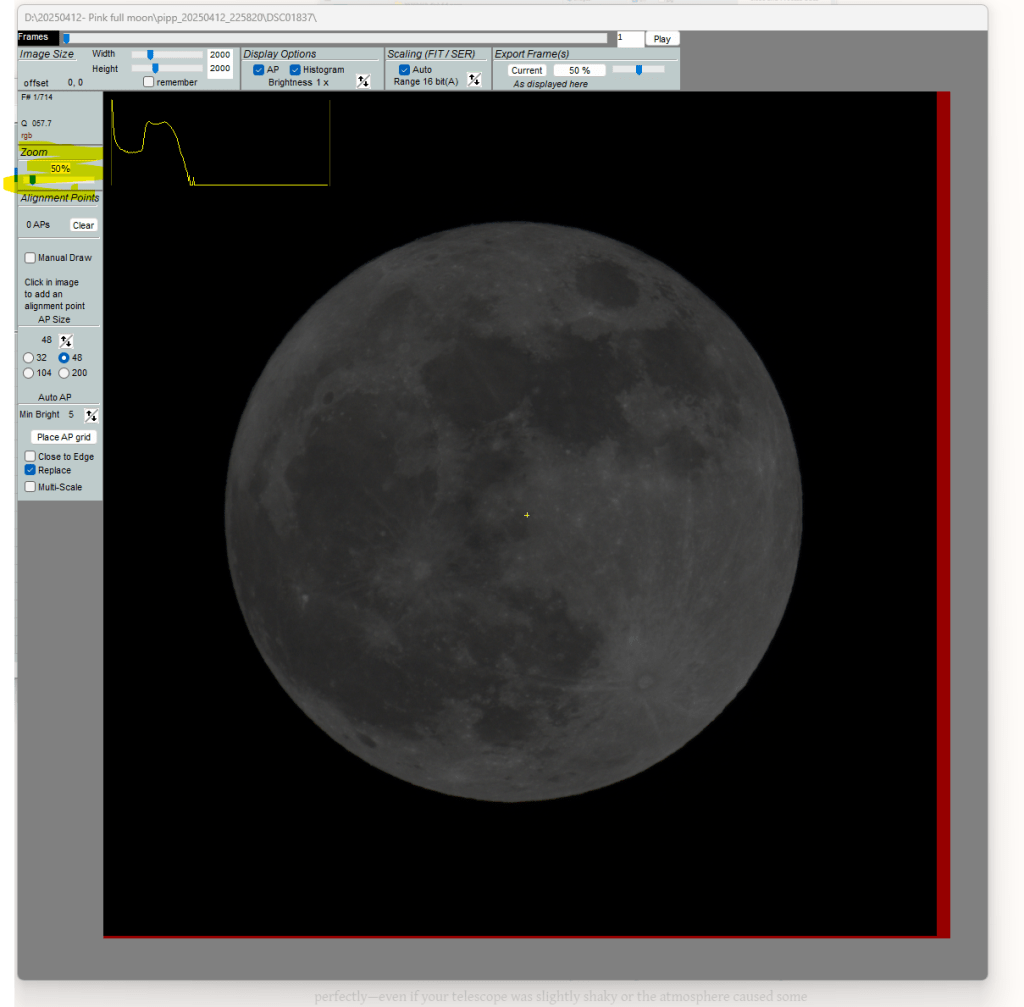
This window will popup. Use zoom option to bring moon to full screen
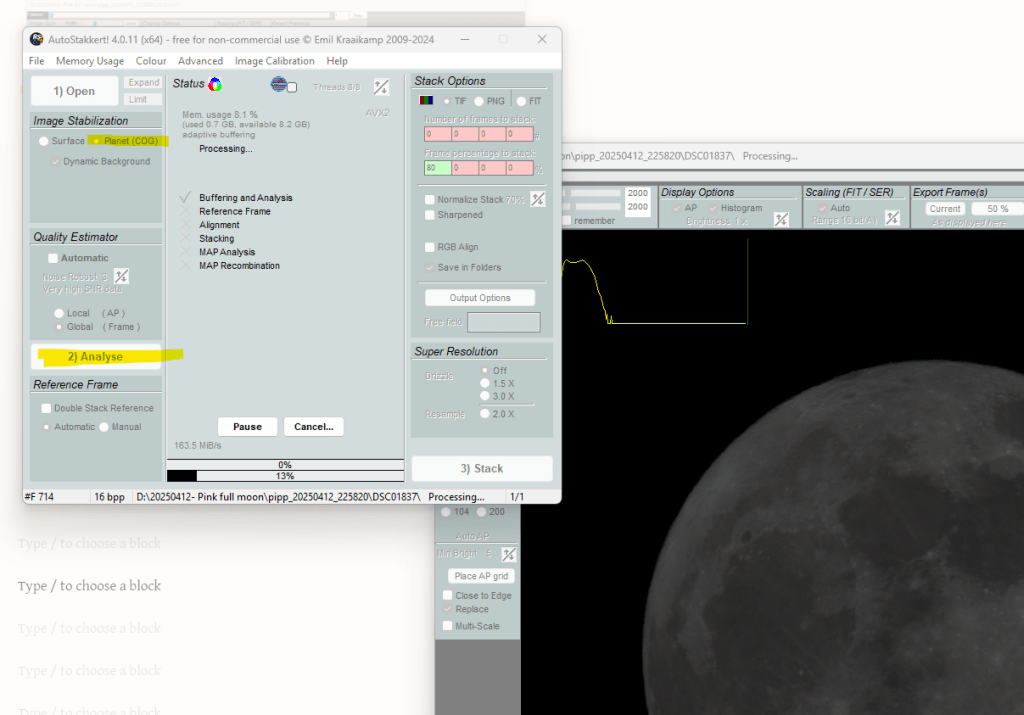
In the small window make sure “Planet” is selected and click “Analyse”
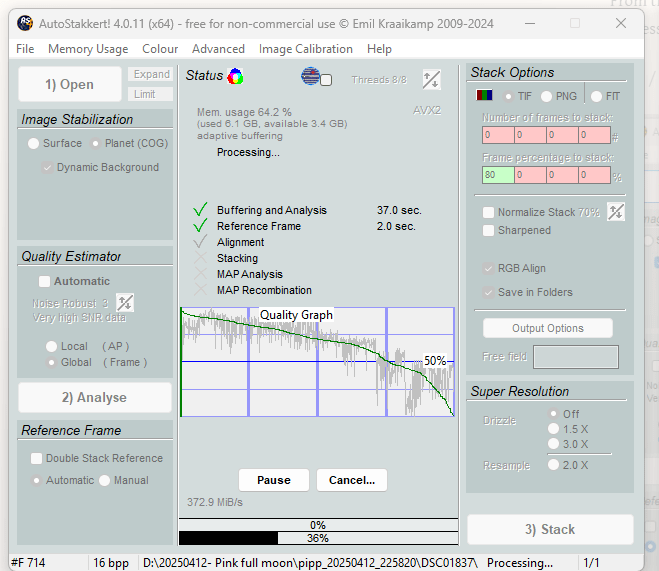
From the quality graph, you will get a good idea on how many images are good to process. Based on the below data, I should be good to use around 70-75% of the data.

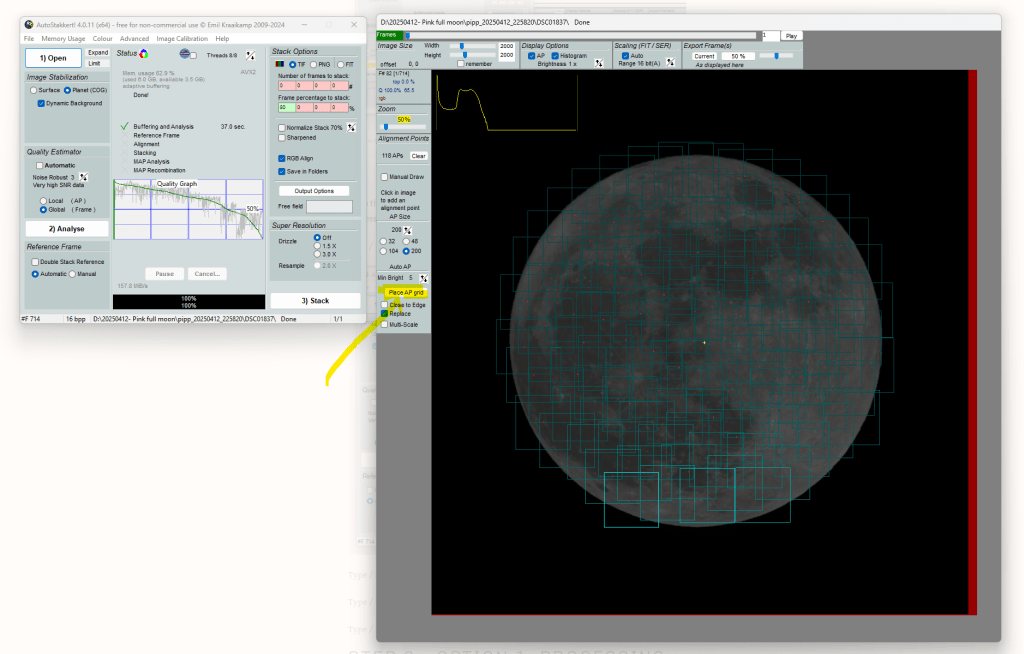
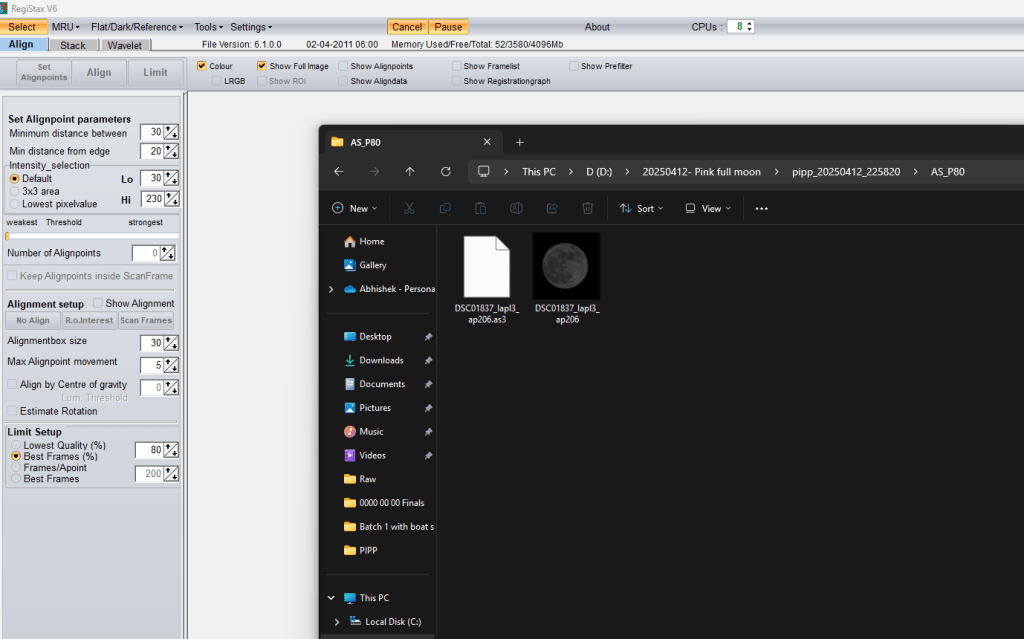
With the following selection, click “Place AP grid”. Keep the AP grid size as 200. You will see boxes covering moon
In the main window, click “Stack”
Once all processing is complete, you will see image in the output folder.
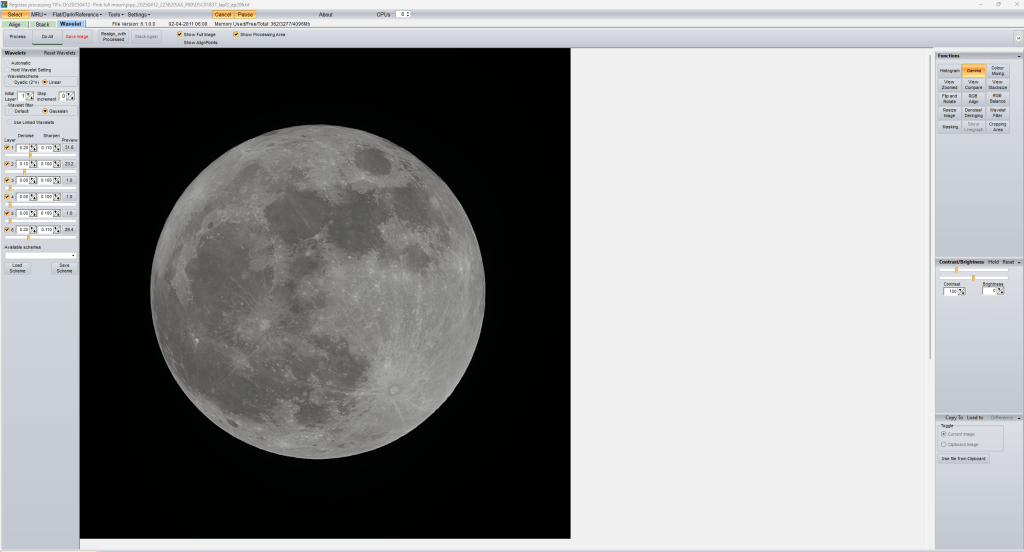
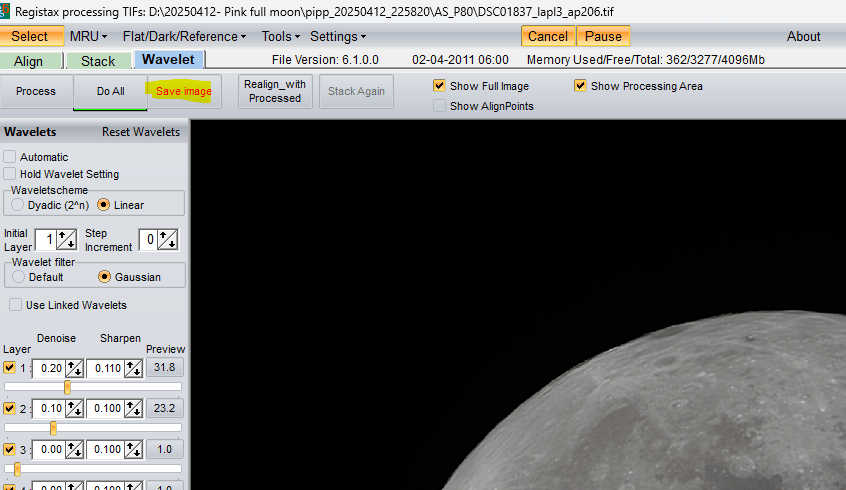
Step 4 – Processing in RegiStax
Enhance pic from AS
Change the settings

Check histogram to ensure all colors are balanced.
Bring Gama a bit up to increase the brightness of the moon
Click on Save image to save the image.
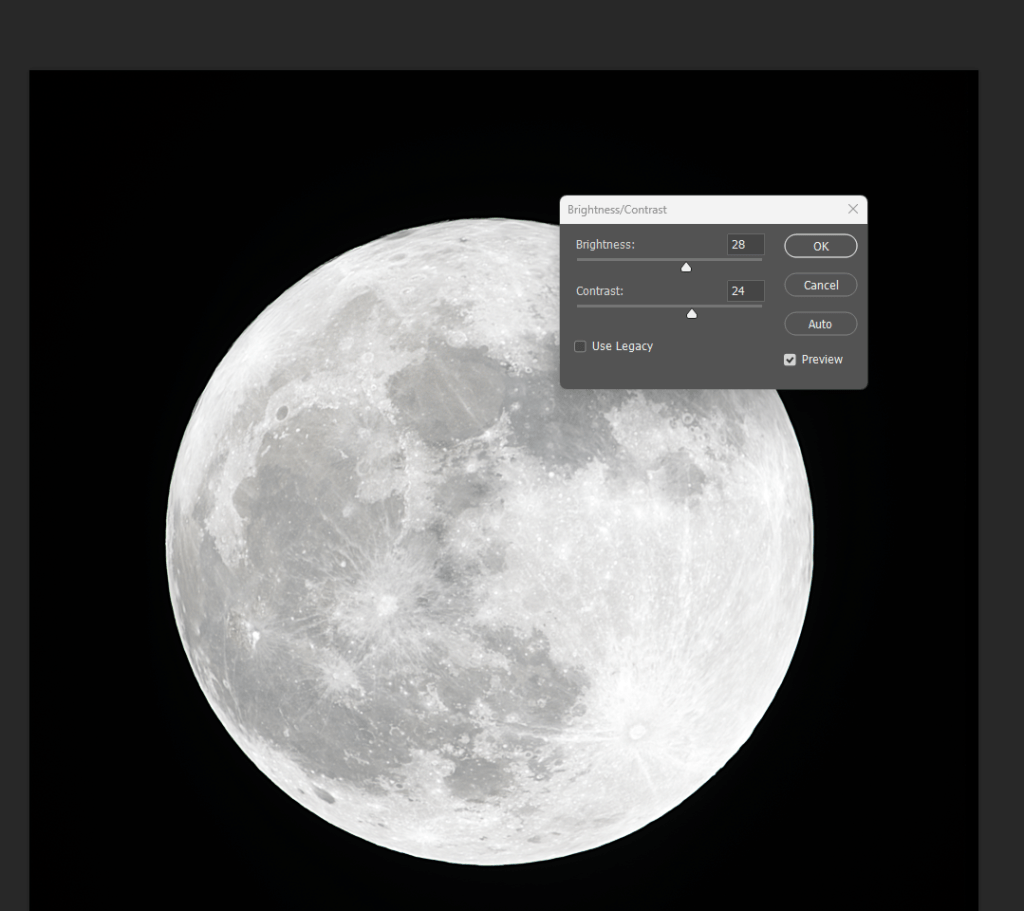
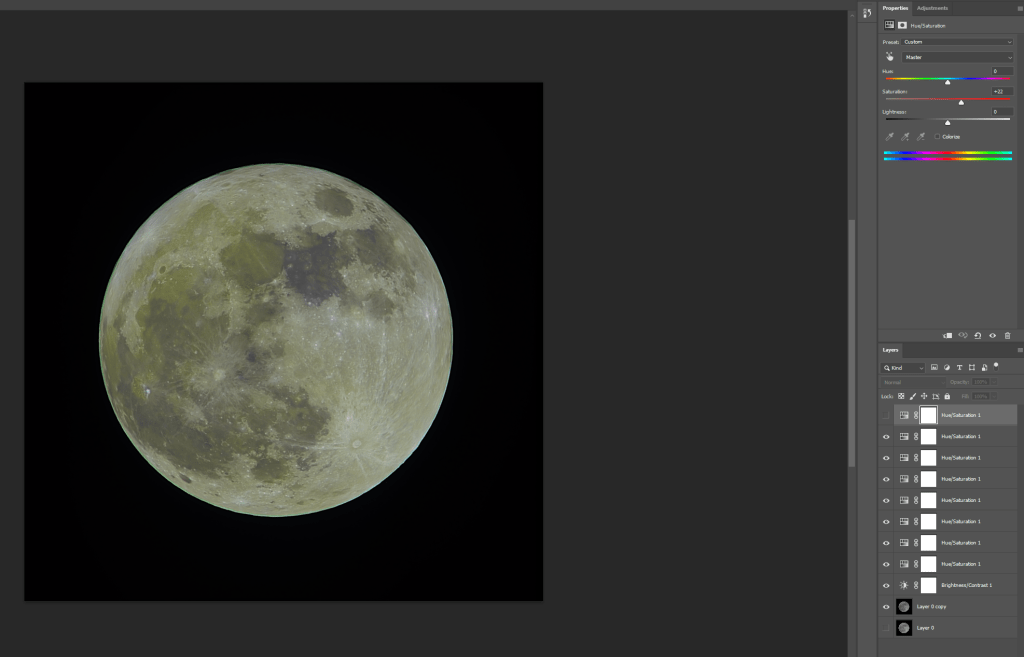
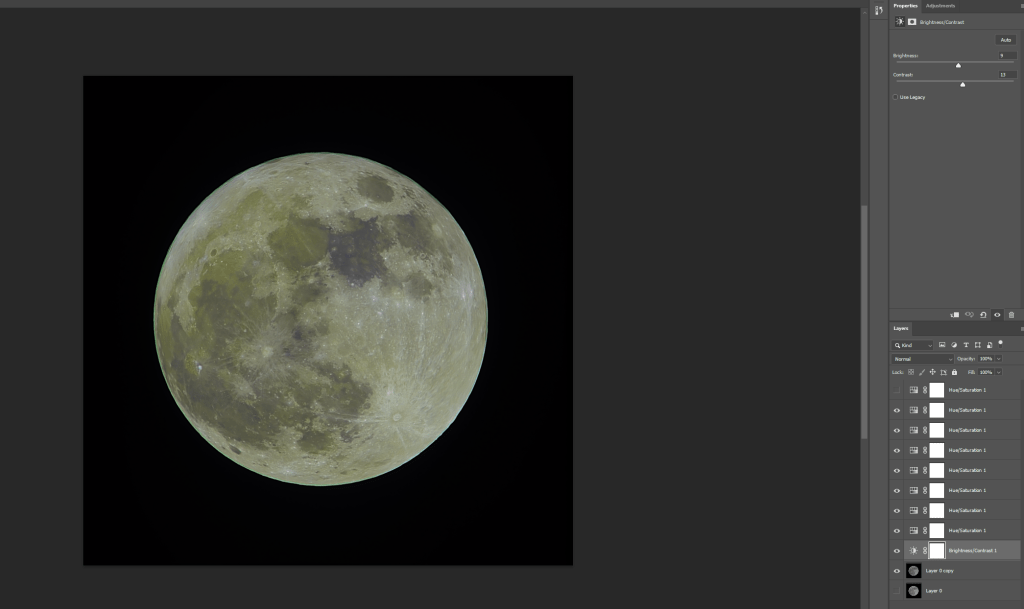
Step 4 – Processing in Photoshop
Bring image to Photoshop
Image => Auto color
Not needed
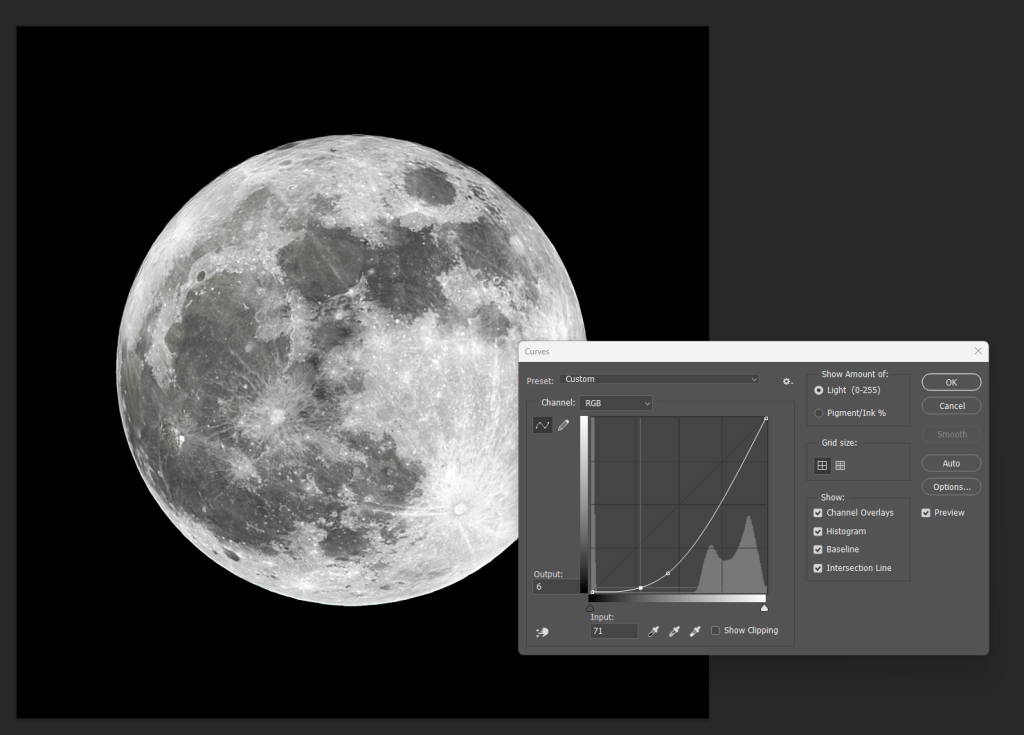
Adjust curives
not needed

Leave a comment